Valentine Bookmarks
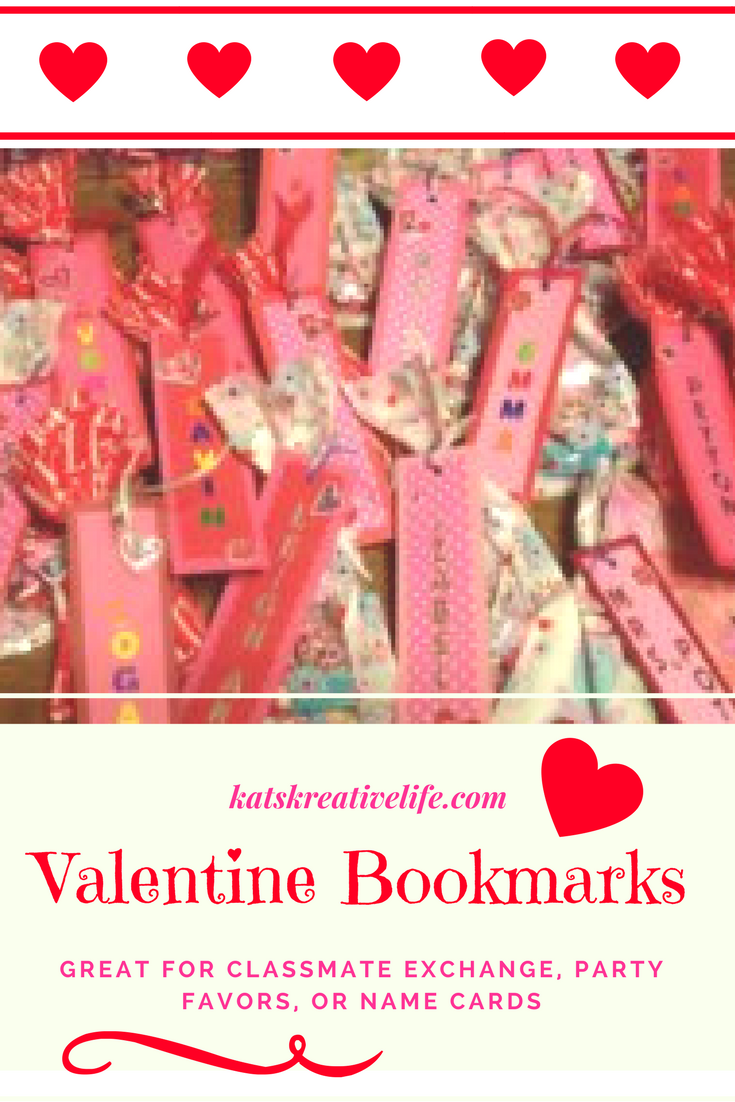
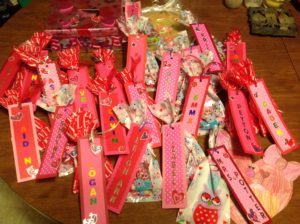
A couple of years ago, when my daughter was in 4th grade, we made these personalized bookmarks for her class. They are not hard, but it did take quite a bit of time to make so many. We attached them to small goody bags through the hole for the ribbon using the twisty tie for the bag.

I found some packages of printed Valentine card stock at the store. It got me thinking about what we could do with it. I came up with the bookmarks because her class was really into reading and they would be something they could use after the holiday was over. I bought the card stock (both printed and solid colors), alphabet stickers and Valentine stickers. I already had everything else I needed – glue stick, craft scissors, paper cutter, hole punch and ribbon. Since it has been so long since I made these, I no longer have all the supplies I used, so I found similar items on Amazon for examples.
This post contains affiliate links. Please see my disclosure policy for more details. Click on the pictures to see more details about the products.
I cut 2 pieces of card stock for each bookmark, 7″ x 2″ and 6.5″ x 1.5″ which allows for a 1/4″ frame around the front piece. I used a paper cutter similar to this one to cut the card stock to the correct size, but it could be done with scissors.
I used craft scissors to trim a few of the smaller pieces for extra detail, but this is optional.
Once I had all the pieces cut, then we matched them up to make as many different color combinations as possible and used a glue stick to attach them together. Using some paper to protect your table, lay the smaller piece face down and spread glue all over the back making sure to get the glue on the edges. Carefully lay the front piece on the back piece glue side down in the center, pressing firmly to get a good seal around the edges. Allow to dry overnight or at least several hours, then use a hole punch to punch a hole through both pieces about 1/2″ from the top.
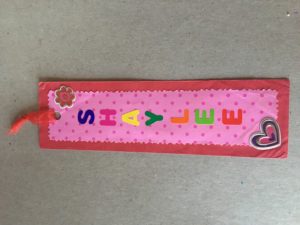
Personalize each bookmark by placing alphabet stickers down the center. I used 1/2″ stickers in multi-colors and gold foil. These printed ones would be really cute.
Decorate with Valentine stickers, we used 2 for each bookmark.
I had sheer red 1/4″ wide ribbon and 1/8″ gold metallic ribbon, so that is what I used. I cut a 4″ piece of ribbon for each bookmark and tied it through the hole at the top.
I found my daughter’s bookmark in one of her books. It has some wear, but still looks pretty good for being 2 years old.

We made them for her Valentine classmate exchange, but these could be made for any occasion just by changing the colors of the card stock. I hope that you enjoy making these as much as we did!
Sign up below to join my newsletter so you always know what is going on around here and don’t miss anything important!


