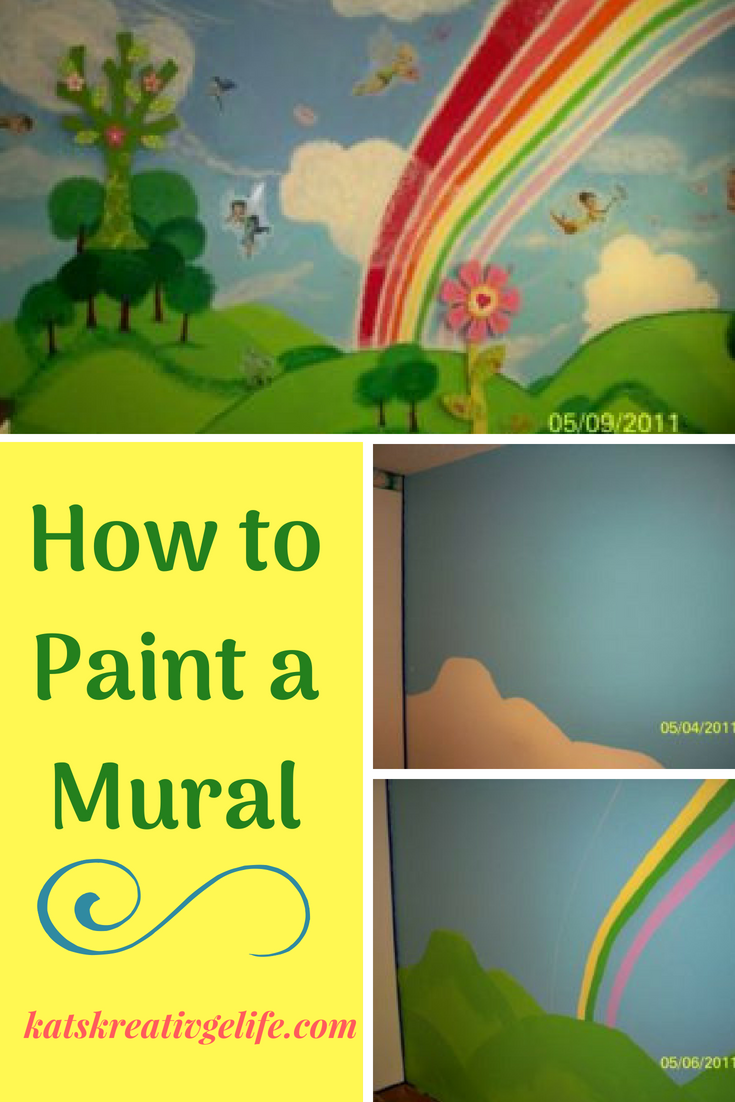
How to Paint a Mural
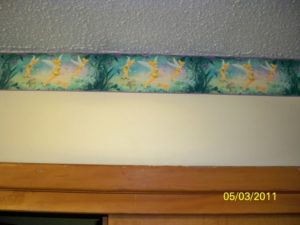
When my daughter was ready to move from a toddler bed to a big girl bed we decided to redo her entire room. We bought her a new twin size bed and I found some Tinkerbell border and a mural. We cleaned out her room, put up the border and got ready to put up the mural. I found out when I opened it that it wasn’t a real mural, it was a plastic one that was meant to be hung up temporarily for a party. I didn’t have enough border to finish the entire room and I had purchased it on clearance so I couldn’t go back and buy more. So I had to figure out something. I checked to see how much it would cost to buy a real mural and it was way out of our budget.
I decided to try to paint a mural. I was scared to death to try to paint something that big, but didn’t know what else to do. I had a picture on the package that the mural came in so I used it as a guide. I needed a lot of different colors but just a small except for the blue and green. I was able to buy small sample size bottles of all the other colors and a quart of blue and green. I did have to go back and buy a second sample of a couple of the colors but I didn’t end up with a bunch of of leftover paint. Make sure to buy the appropriate paint for the surface you are painting. I used interior wall paint for my mural.
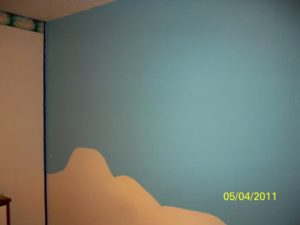
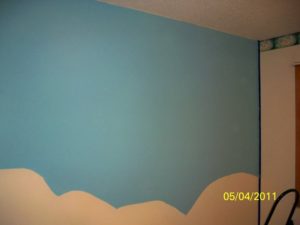
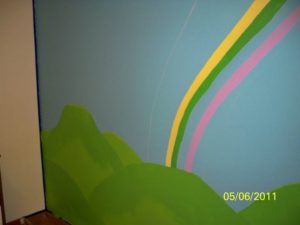
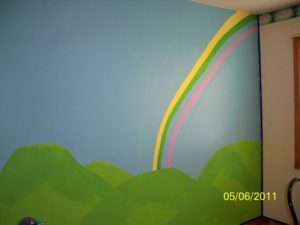
I began by drawing the hills on the wall with a pencil. Using the pencil to sketch it out allowed me to correct any mistakes before I started painting. We taped off the edges of the walls on each side and my mom helped me paint the background. We painted the blue sky first, it took a couple of light coats to cover it well.
We painted the bottom green and I used a darker green to add some dimension to the hills. I sketched out the rainbow using the picture as a guide, and started painting the rainbow.
After I got the clouds painted, I added some wispy clouds with a sponge that helped the scene look more natural. I didn’t like the way the rainbow looked since my edges were not very good, so I used a sponge to add some white lines between the colors and very lightly added a cloud floating across the rainbow.
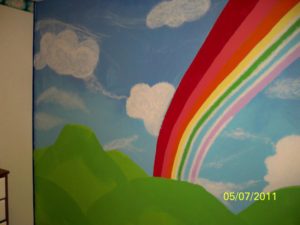
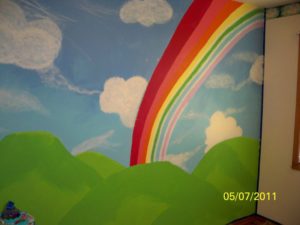
Once I had the top done, I started adding some grass and trees with the darker green. I used sponges and sponge brushes to do a lot of the grass and trees. I blended my paints to make different shades of the colors. By mixing the paints, I was able to get a lot of different colors without having to buy a lot of colors.
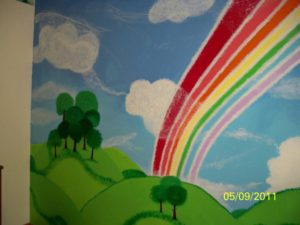
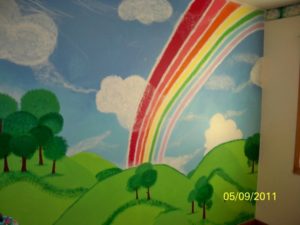
After I was done painting, I hung up a wood tree and flower with pegs, then we applied some Tinkerbell and flower clings to complete the look. We used the pegs on the tree to hold ribbons for her hair bows and the pegs on the flowers to hold her coats and jackets. It has been 7 years since I painted this mural and she still loves it. It would be easy to change the look if she wanted something different since the actual painting is just a hillside scene. This basic mural could be used for a lot of different characters or themes.
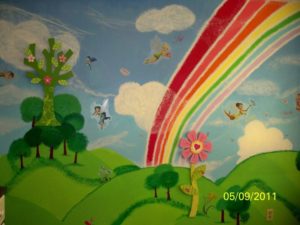
I am not an artist and nothing about the mural is perfect, but once all the extra elements were added, I think it looks pretty good. It has held up well and still looks almost as good as the day I finished it. There are a few scrapes and scratches in it where she rubbed a chair or the desk up against it, but overall it looks great.
Have you ever painted a mural or done something that you never thought you would be able to do? Leave a comment and let me know.
Other how to posts you might like are Deco Mesh Wreath and Valentine Bookmarks.
Sign up below to join my newsletter so you always know what is going on around here and don’t miss anything important!




One Comment
☎ Message- TRANSACTION 1.514718 BTC. Assure > https://graph.org/Ticket--58146-05-02?hs=cbf7e7c26e7f6e179dd00cf5f3ff31d8& ☎
iry46j