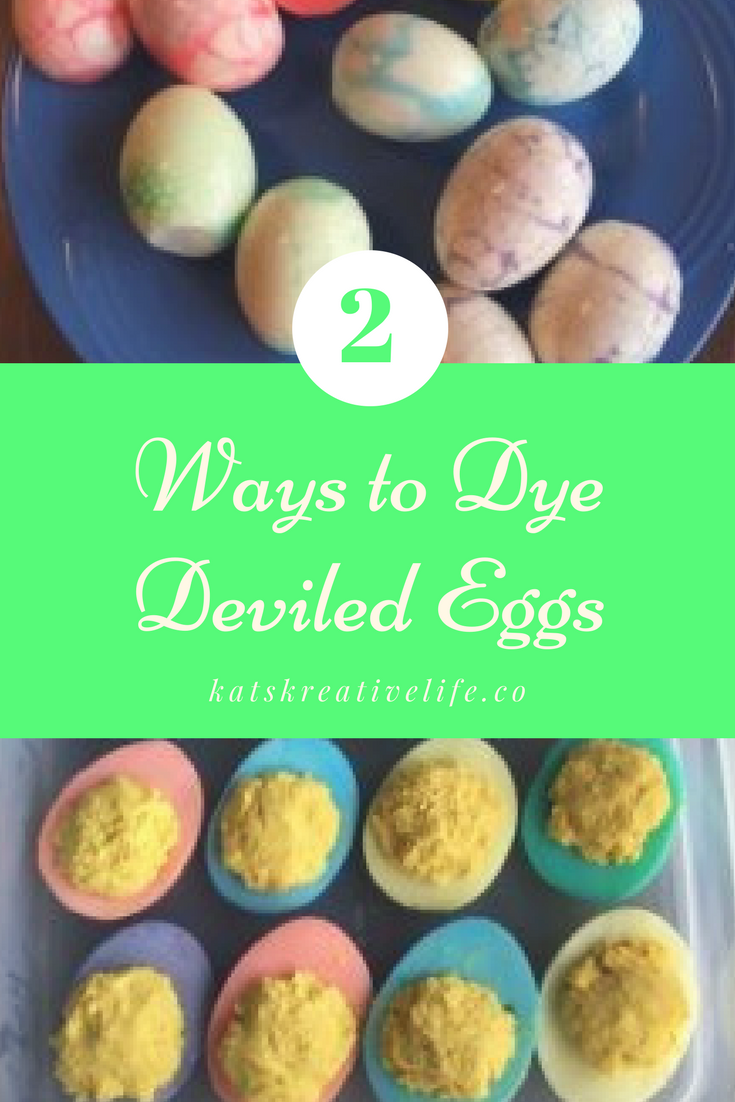
2 Ways to Dye Deviled Eggs
My dad is from a large family. Several times a year we get together to celebrate holidays or other events. Easter is one of those occasions. Since my grandparents passed away, we have gathered in lots of different places. For several years we had Easter in a room at the community center, but now we have it at one of my aunt’s church. One of the items that my family likes me to bring is deviled eggs. Last year, for fun, my daughter and I dyed the eggs for our deviled eggs.
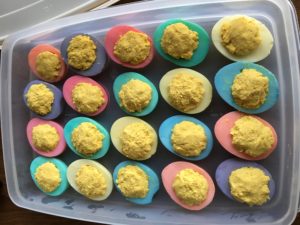
They turned out pretty cute and were easy to dye. This year we decided to try something new. I had seen some eggs on Pinterest where they made marbled looking eggs. We started out by boiling our eggs, then allowed them to cool.
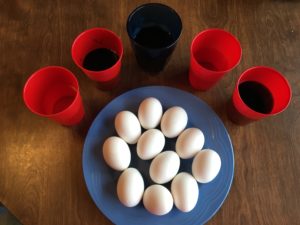
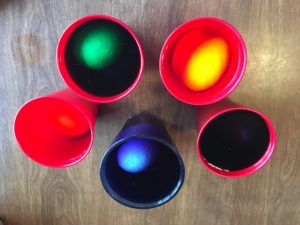
While they were cooking, we got the dye ready. I had 4 little red plastic cups, but my daughter wanted 5 colors so I grabbed another cup and we made yellow, green, blue, red and purple. The article on Pinterest said to use 10 drops of food coloring and allow to set overnight in the fridge. Of course I didn’t read the directions until I was ready to make them, so we used a few more drops (12-15 total in each cup) to make it a little stronger since we were planning to take them to church for fellowship a few hours later. To make the purple we used 9 drops of blue and 6 drops of red.
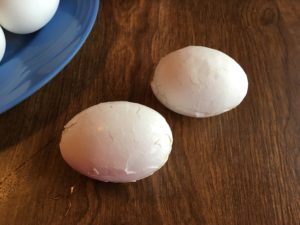
Once the eggs were cool, we rolled them on the table making small cracks in the shells all over. I had some trouble with little pieces of the shell falling off while I was rolling them. That seemed to allow larger areas of the eggs to dye instead of just having the small crackle effects.
We placed 2 eggs in each cup and allowed them to sit for about 30 minutes.
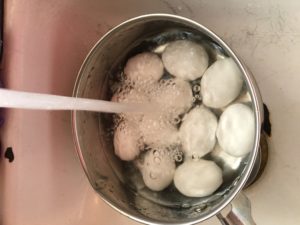
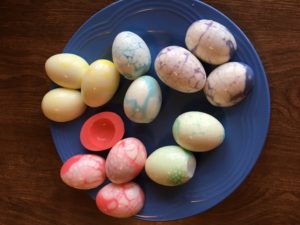
 I had cooked an extra egg in case there was a problem and there was, when I tried to crackle the egg shell, it didn’t do well and the shell almost fell off. My daughter wanted to eat it, but wanted to dye half of it first. It was in the dye for about half the time the others were and it came out a fully dyed pink egg. We filled the pan back up with clean cold water and placed the eggs in it before shelling to rinse the excess dye off the shell so my daughter could shell them without dyeing her hands. I cut some of the eggs in half so you could see how they had dyed. The green ones showed less color change and I think it was because we only used the original 10 drops in the green, so the extra drops of dye did make a difference. The picture doesn’t show it very well, but the green ones had only a fine crackle pattern over surface that doesn’t show up very well.
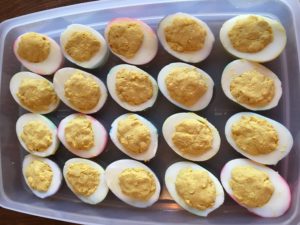
After the deviled eggs were filled this is the way they looked. It was kind of hard to see that there was anything different until you picked them up. If they had stayed in the dye longer they may have shown a little more of a ring around the edge, but I don’t think this will be a repeat for us.
We decided that we like the color pop you get from dyeing the half eggs a lot more. To make them, shell the eggs once cooled and cut them half. Remove the yolk and set aside to make the filling according to your favorite recipe (I just add mustard, salt and pepper to the crumbled yolks and mixing until smooth), then just drop the egg halves in the food dye and water mixture. Allow to soak until the egg halves reach the color intensity that you want. Remove from the dye and allow to dry, then fill with the yolk mixture and serve. Refrigerate if you are not serving immediately. This could be done for any holiday – red, white and blue for a patriotic theme; yellow, orange, and red for fall; red and green for Christmas – really any theme could be matched by just by using a few drops of food coloring.
Have you dyed deviled eggs? Did yours turn out better, worse? Leave a comment below and let me know.
Sign up below to join my newsletter so you always know what is going on around here and don’t miss anything important!



One Comment
🔐 + 1.161669 BTC.NEXT - https://graph.org/Message--120154-03-25?hs=cdf18562f486dd61e515ce753a7a534a& 🔐
ggigjv